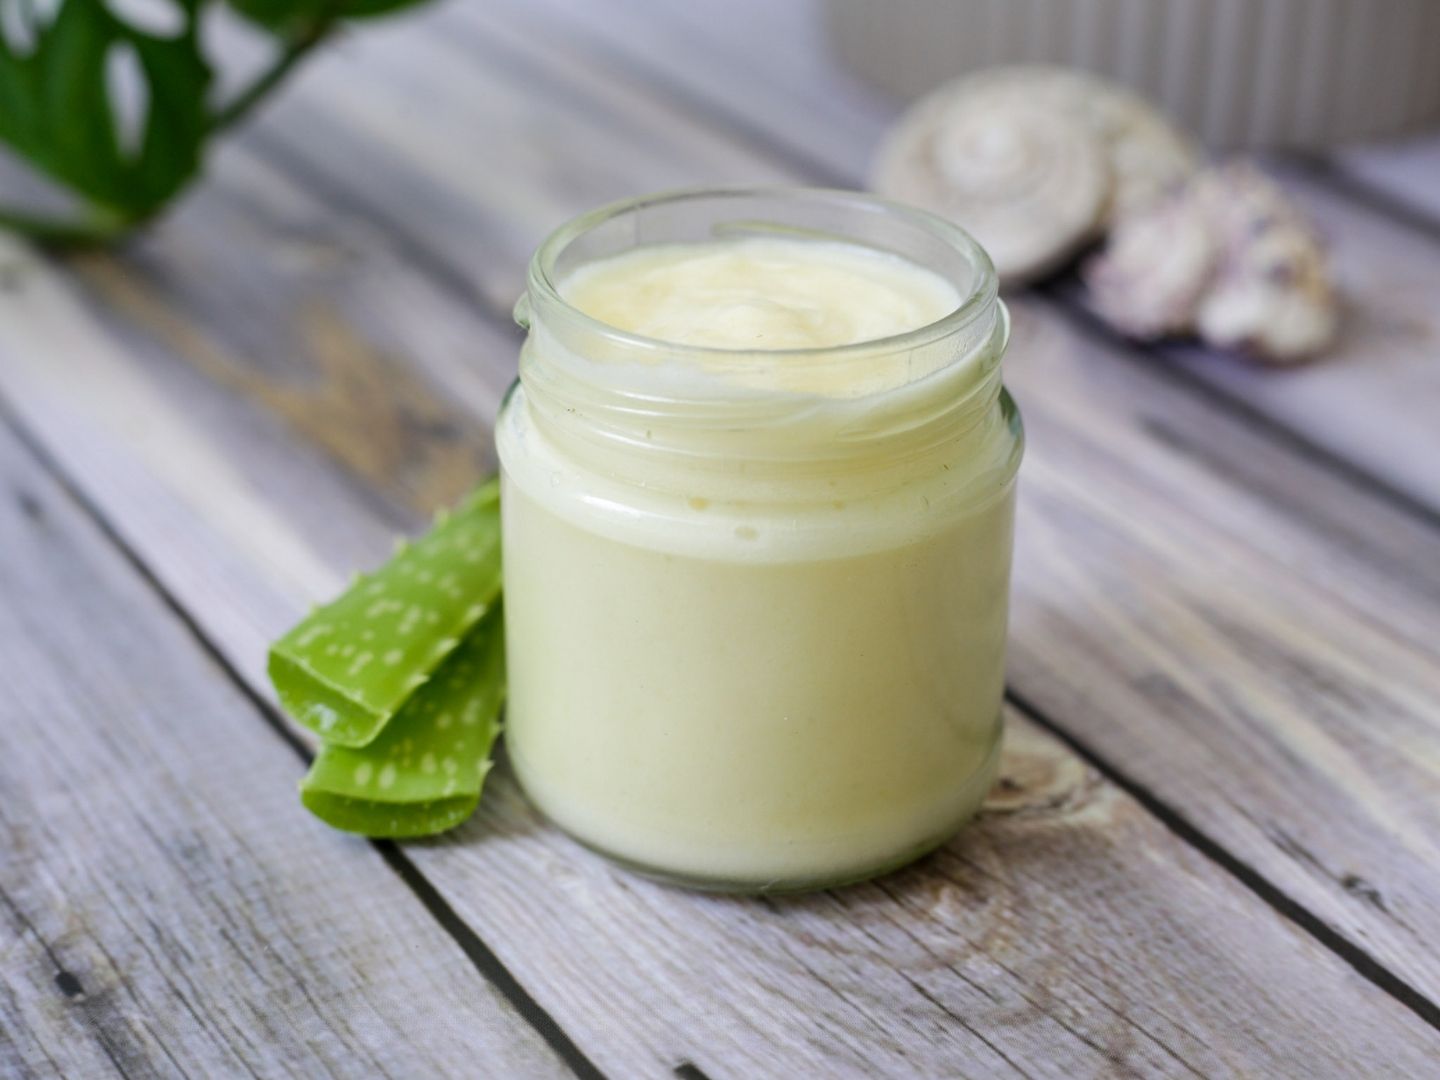
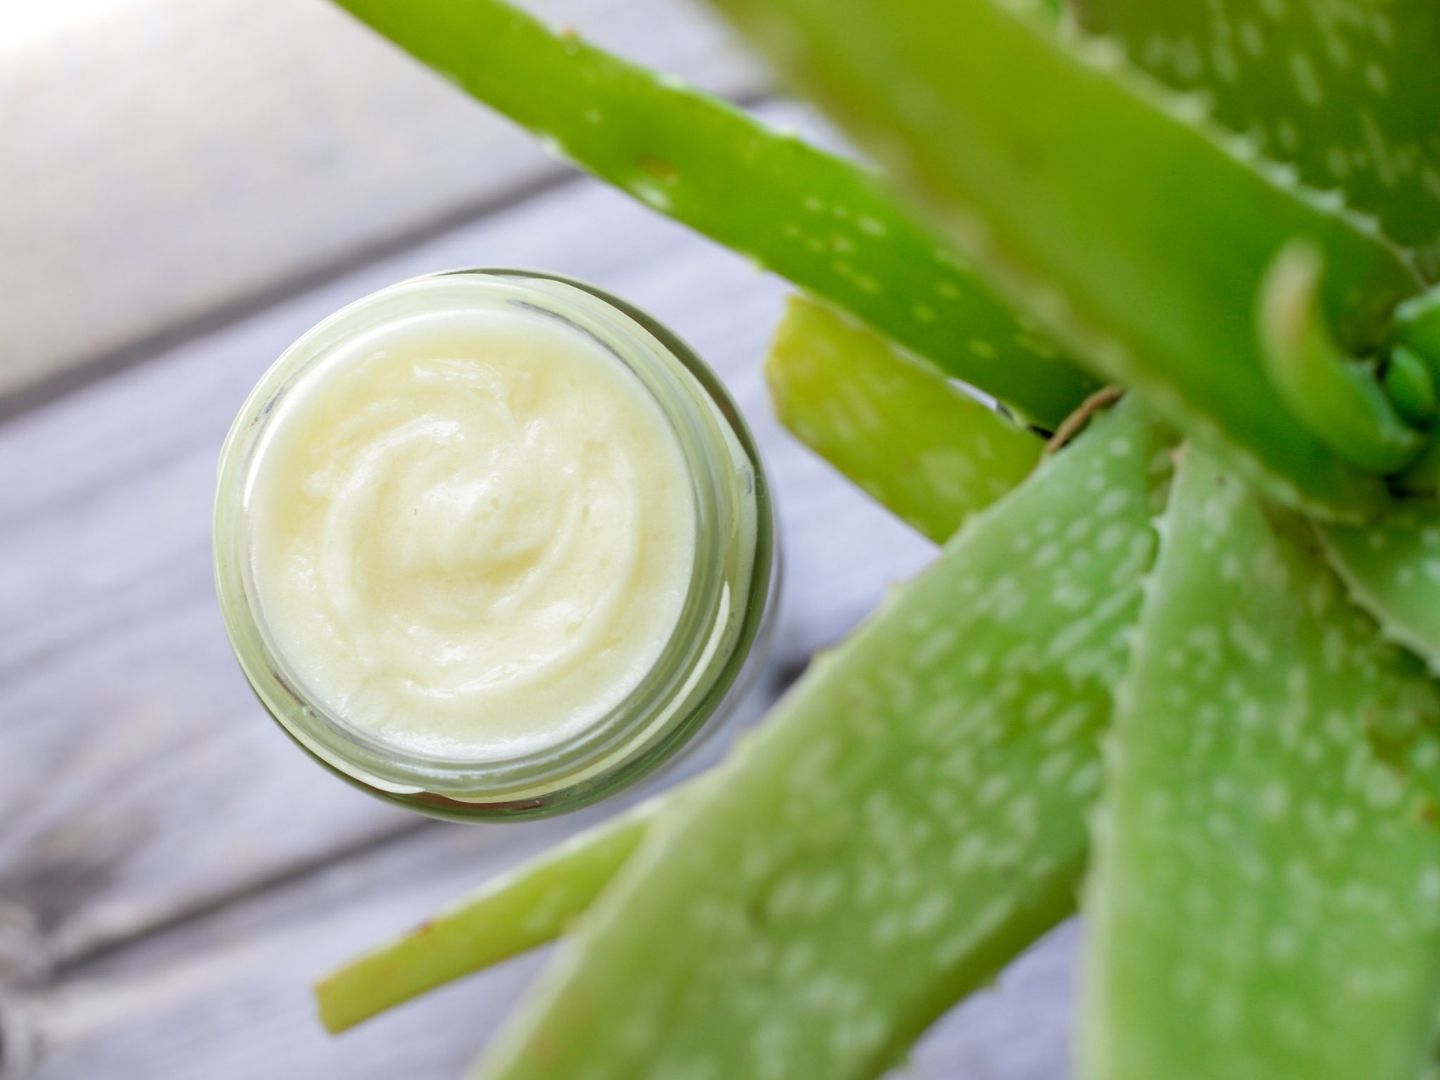
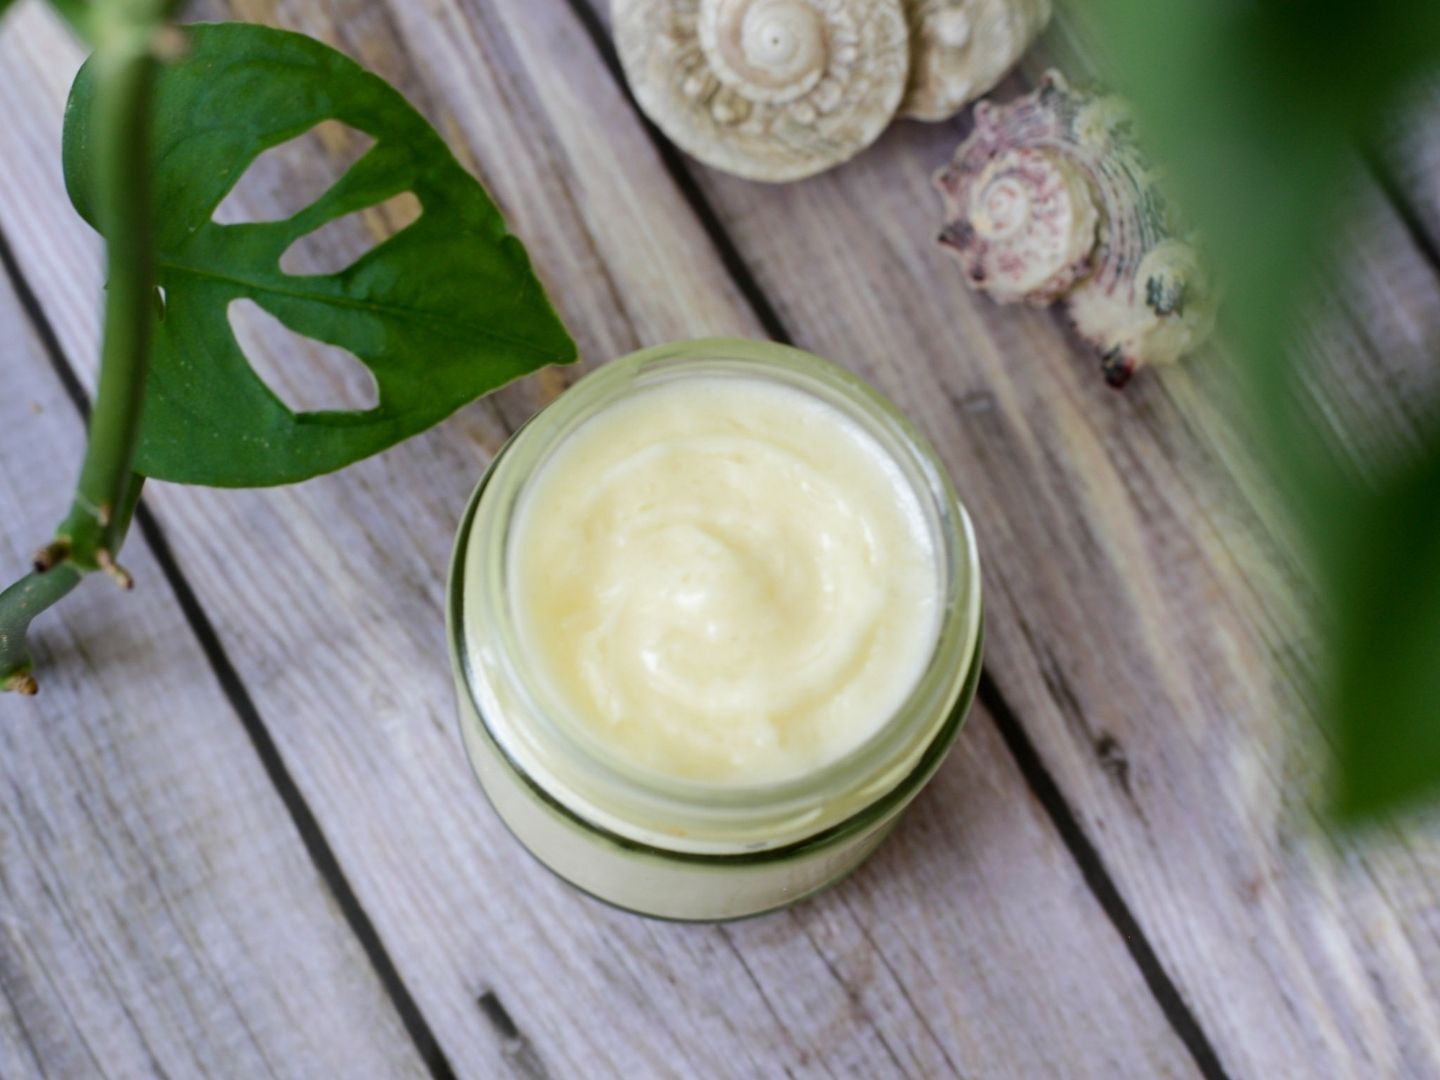
This homemade aloe vera moisturiser is the perfect face cream for all skin types, for anti-aging, for a day as well as a night cream. It’s hydrating, extremely nourishing and not greasy!
I’ve got two recipes here for you: one is quick & easy and the other is a tiny bit more complex but—I think—much, much nicer and hydrating.
Also, I give you two options on how you can use aloe vera in these two recipes. So, decisions, decisions—but don’t worry, I’ll make it easy for you!
Ingredients
Affiliate Disclaimer: This article contains affiliate links. That means I may earn a small commission, if you purchase the linked product, at no extra cost for you.
- Basic ingredients:
- shea butter
- oil(s)
- aloe vera
- essential oils
- Add-ons:
- distilled or filtered water
- beeswax
- pure vitamin E oil
Shea Butter
Shea butter is such a wonderful ingredient. Especially for this aloe vera moisturiser, it’s very beneficial due to its high content of fatty acids and vitamins.
It boosts skin moisture working as an emollient, plumps and softens the skin, it’s rich in antioxidants that fight those free radicals causing the skin to age and last but not least, shea butter has anti-inflammatory properties that help soothe skin irritations and may heal small cuts or wounds.
I highly recommend buying organic, unrefined, raw shea butter because processing it destroys most of the good stuff!→ buy it on amazon or on iherb.
Oil
There are soooo many different oils that are highly beneficial for our skin. Personally, I choose oils that are high in vitamin E (an antioxidant which means it’s great for anti-aging) like sweet almond oil or apricot kernel oil.
You could also blend different oils. It’s your homemade face cream, your choice! For some inspiration, you can check out my face serums (with vitamin E or for glowing skin) where I go a bit more into detail about the oils.
For oily and/or acne-prone skin, choose non-comedogenic oils like Jojoba, rosehip and grapeseed oil. These oils are lightweight and won’t clog your pores.
Aloe Vera
Aloe Vera moisturises, soothes and hydrates the skin and supports the production and release of collagen making your skin more flexible and plump, thus younger-looking.
Just as shea butter, it’s also got healing properties to speed up wound healing and limit scarring. It’s widely known that aloe vera helps with first- to second-degree burns, also due to its cooling effect.
Aloe vera slows down the aging process and reduces the appearance of fine lines and wrinkles.
Options for Aloe Vera in your DIY Face Cream
Now, let’s talk about our different options for aloe vera. Unfortunately, fresh aloe vera gel that you harvested yourself, for example, hasn’t got a long shelf life.
To prevent your homemade aloe vera moisturiser from spoiling, you need to add some kind of preservative to the gel. There are some natural preservatives you can use and that are safe, non-chemical.
But, to be honest, homemade aloe vera gels often tend to go bad earlier than expected and you don’t want to spoil your whole moisturiser because of that.
I’d go for a store-bought gel where it’s guaranteed the gel won’t go bad. There are some good brands that use natural preservatives as well (like this one).
Otherwise, what I’ve started to use, is aloe vera powder because it’s got a very long shelf life and is higher concentrated. Aloe vera powder is simply dehydrated aloe vera gel.
There are different colours of the powder. Generally, a pale yellow/whitish colour means it’s pure, dehydrated gel (buy it here) whereas a green colour (buy it here) means the whole leaf was dehydrated and made into a powder (that's why it's much cheaper).
Essential Oils
Just as with the oils, there are soooo many options here as well. Technically, they’re not a must but definitely a great and beneficial add-on.
Depending on what you’re looking for, essential oils are most likely to be able to help you with it. May it be for anti-aging, fighting acne, improving the skin overall, soothing irritations or maybe just for a nice scent.
I recommend simply googling whatever it is you're looking for to get a list of essential oils to use. Or have a look at my face serum posts (you can find the links above, in the “oil” section) where I list a few essential oils and their uses.
Instructions
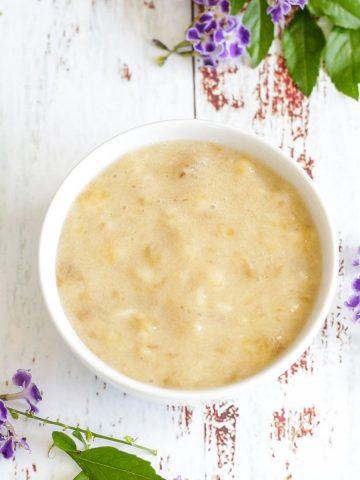
Simple Homemade Aloe Vera Moisturiser
Let’s start with the first option, the quick and easy one. For this one, we only need 3 basic ingredients plus essential oils, if you like.
I made this simple aloe vera face cream last year when I was living in my car and travelled around Australia most of the year and didn’t have the comfort of a real kitchen. It’s just so quick & easy and yet a great product!
Step One. If your shea butter is rock solid and there’s no way to stir it, you have to melt it first. Let it cool down (so it’s still liquid or soft but not hot) before adding the other ingredients.
Step Two. Then, you simply mix equal amounts of shea butter, oil and aloe vera gel together (I used 2 tablespoons (30ml) each).
If using essential oils, you can add them together with the other ingredients. You can use this dilution chart to help you figure out how many drops you need for the amount of your moisturiser.
For example, using 2 tablespoons for each ingredient, we get 90ml of our homemade aloe vera moisturiser. So (looking at the chart), I need to add 27 drops for a 1% dilution or 12 drops for 0.5% (this is what's recommended for facial products).
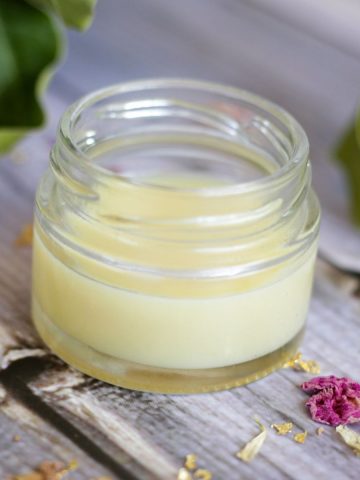
Step Three. Fill your DIY aloe vera moisturiser into a clean container or glass jar and put it into the fridge to set for a couple of hours. After that, it’s fine to sit in your cupboard.
If you live in a hot climate though, you may need to keep it in the fridge.
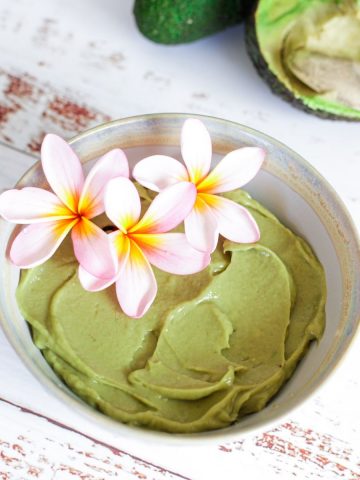
Homemade Aloe Vera Moisturiser (emulsified)
Okay, don’t worry, it may sound harder or more complicated than it actually is. I call it “emulsified” because that’s what we’re doing but we won’t use an actual emulsifier in this recipe.
For this version, you do need a stick/hand-held blender and a tall measuring jug or a high-rimmed bowl.
In this recipe, you can, but certainly don’t have to, use beeswax. Beeswax makes this face cream a bit firmer so you don’t need to keep it in the fridge.
Personally, I don’t like using wax on my face and I have to keep my moisturiser in the fridge anyway because I live in a hot climate. So, I just leave it out.
Step One. If you like to add beeswax, melt it first and let it cool down for a bit. If your shea butter appears to be fairly solid, too solid for stirring, you can melt it together with the wax (or on its own if not using wax).
Step Two. Add all ingredients (shea butter, wax, oils, shea butter, essential oils, water & aloe vera gel or powder) to a tall measuring jug or a high-rimmed bowl.
Some say that it’s easier to emulsify moisturisers if all the ingredients have the same temperature. Honestly, I don’t know whether you really need to do that.
I’d just put all the ingredients together, stir them for a few seconds with a clean spoon, wait and then the whole mixture’s got the same temperature (right?). No need to warm up the oils, aloe vera gel or water, I reckon.
Step Three. Blend the mixture at a low speed, if your stick blender is quite powerful (600W plus). Weaker ones (around 400W) are fine at a higher speed.
Blend until a creamy lotion forms. Depending on your blender, this happens after a minute or two.
Step Four. Pour your homemade aloe vera face cream into a clean container or glass jar and put it into the fridge to set, for several hours. After that, it’s fine to sit in your cupboard, especially if you used beeswax.
Again, if you live in a hot climate though, you may need to keep it in the fridge.
Storage
Your homemade aloe vera moisturiser will keep for several months—a lot longer in the fridge, I suppose. The fresher your ingredients, the longer the cream keeps.
I only had it once that my moisturiser would go off because I kept it in my car (when I was living in it) and temperatures were rising well above 30 degrees Celsius / 90 degrees Fahrenheit. That means it was too hot for the aloe vera gel and it went bad (it smelled funny).
When using essential oils, we need to keep our products out of the sunlight. That means if you're using a clear container, keep it in the bathroom cupboard. If you keep it out, exposed to light, store the moisturiser in an amber or tinted jar.
But again, your moisturiser should be safe out of the fridge when you keep it at room temperature (or below).
Containers for your homemade aloe vera moisturiser
I always reuse small jars and containers like jam or honey jars. I’ve got quite the collection now. If you don’t have any jars sitting at home, you can also buy empty ones online.
If you live in the US, you might want to check out SKS Bottle & Packaging. They've got an array of different containers to choose from!
→ I also like these small cosmetic jars, this amber glass container or these aluminium tin cans.
Warnings & Safety
Generally, this product is fairly safe to use. There are none to very few known cases of allergic reactions to aloe vera, shea butter or beeswax.
However, you may react to one of the oils. So, if any skin irritations occur like reddening, itchy or flaky skin, please stop using this moisturiser.
📖 Recipe
Equipment
- 1 stick blender (only needed for option 2)
Ingredients
Option 1: Simple Aloe Vera Moisturiser
- 2 tablespoon shea butter preferably unrefined, raw, organic
- 2 tablespoon oil(s) of your choice sweet almond, apricot kernel, jojoba, coconut oil etc.
- 2 tablespoon aloe vera gel preferably pure, organic
- 10-30 drops essential oils like lavender, frankincense, tea tree etc.
Option 2: Emulsified Aloe Vera Moisturiser
- 1-2 tablespoon shea butter see notes
- 3 tablespoon oil(s) of your choice
- 10-30 drops essential oils
- 2 tablespoon distilled or filtered water
- ½ teaspoon aloe vera powder or 1 tablespoon aloe vera gel, see notes
- 1 teaspoon beeswax optional, see notes
Instructions
Option 1: Simple Aloe Vera Moisturiser
- If your shea butter is rock solid, you have to melt it first. Let it cool down before adding the other ingredients.
- Then, you mix the essential oils with equal amounts (I usually use 2 tablespoons (30ml) each) of shea butter, oil and aloe vera gel together.
- Fill your DIY aloe vera moisturiser into a clean container or glass jar and put it into the fridge to set for a couple of hours. After that, it’s fine to sit in your cupboard. Unless you live in a hot climate where you may need to keep it in the fridge.
Option 2: Emulsified Aloe Vera Moisturiser
- If you like to add beeswax, melt it first and let it cool down for a bit. If your shea butter appears to be fairly solid, you can melt it together with the wax (or on its own if not using wax).
- Add all the other ingredients (oils, shea butter, essential oils, water & aloe vera gel or powder) to a tall measuring jug or a high-rimmed bowl.
- Blend the mixture at a low speed, if your stick blender is quite powerful (600Wplus). Weaker ones (around 400W) are fine at a higher speed. Blend until a creamy lotion forms. Depending on your blender, this happens after a minute or two.
- Pour your aloe vera face cream into a clean container or glass jar and put it into the fridge to set, for several hours. After that, it’s fine to sit in your cupboard, especially if you used beeswax.
Notes
- Shea Butter: For option 2, you may want to use up to 2 tablespoons shea butter if you don’t wanna use beeswax. But you don’t have to. This recipe works with just 1 tablespoon too (it’ll just be softer).
- Aloe Vera: If you prefer using aloe vera gel (for option 2), make sure it’s a store-bought one. Fresh aloe vera gel goes bad after a while. Also, if using gel, use less water!
- Beeswax: Beeswax makes this face cream a bit firmer so you don’t need to keep it in the fridge. Personally, I don’t like using wax on my face and I have to keep my moisturiser in the fridge anyway because I live in a hot climate. So, I just leave it out.
- Essential Oils: it's always a good idea to use a 0.5% dilution for facial creams and products. In these recipes, it's around 12 drops. 1% equals around 27 drops (in these recipes).
Felicia says
Can I use mango butter instead of shea butter?
Lavender Gypsy says
Yes, you absolutely can, Felicia :). Mango butter is also a bit lighter than shea butter.