If you get rashes from your natural deodorant or if you have sensitive skin, try this homemade deodorant without baking soda! It’s gentler on the skin but still effective!
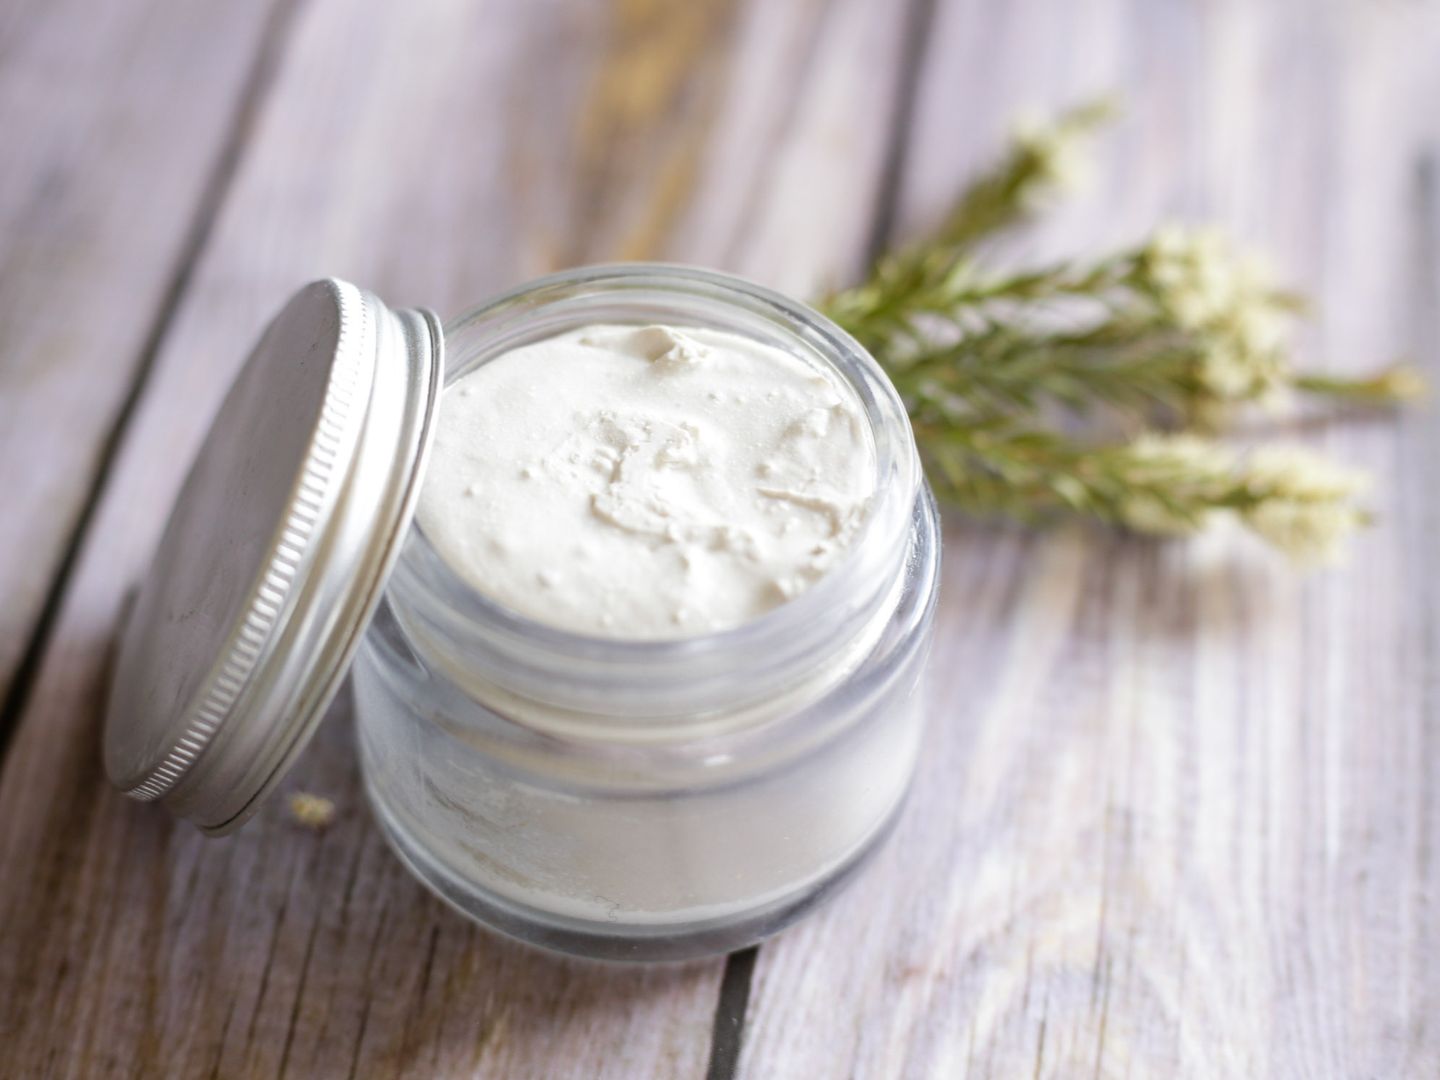
I know, making your own deodorant can be quite frustrating! It either doesn’t work or irritates your skin! Trust me, I’ve been through this too—heaps of times!
But before we’re really getting into it, I wanted to point out that you can use this convenient ToC to navigate easily through this post. It’s quite extensive and LOADED with helpful information!
Contents
When I first made my own deodorant, people told me: just mix coconut oil and bicarb/baking soda. It works wonders! Well, what it did to me was leave me with nasty, itchy rashes! Ouch!
Then, I tried other recipes (all of them containing baking soda) and some were okay, but after a while, the rashes sneaked their way back (especially after shaving my armpits)! Yikes!
It only then clicked! It was the baking soda being too harsh on my skin! However, other ingredients can irritate your skin as well! Just keep that in mind!
Reasons for why your natural deodorant irritates your skin
- baking soda
- too many, or the wrong, essential oils
- tapioca/corn starch
- other active, acidic ingredients
Before we start, I want to let you know, that I’m not an expert/professional—this is all based on personal experience, opinion and research. I highly encourage you to do your own research on this!
There are many reasons why your natural, homemade deodorant causes irritated skin. Though I think bicarb/baking soda is the main reason!
Why does baking soda irritate my skin?
Baking soda is an active ingredient in our homemade deodorants and works so well because it lowers the pH levels (creating an acidic environment) under our armpits which makes it almost inhospitable for (smell-causing) bacteria.
However, as we may all know, acidity causes irritations on the skin! There you have it. Especially, when you have sensitive skin, you’ll react to this a lot more.
For a while, I followed a recipe that used 3 tablespoons of baking soda! Like, OVERKILL! My armpits were so raw! I had to stop it. Well, actually, being all about “stop the waste”, I diluted it with more shea butter and oil.
The results were incredible! Not only did the rashes stop, but this deodorant also worked really well! So well, I created a recipe for it (which you can find here if you want to give it a go).
Other reasons for irritated skin
It’s possible that baking soda isn’t the only cause of your rashes. After having tried so many different recipes and ingredients, I noticed a few other irritating factors.
As we don’t have baking soda in those deodorants for sensitive skin, most other bloggers or companies often add a ton of essential oils (particularly tea tree) to kill the bacteria and make it “work”.
We have to understand though that essential oils need to be diluted correctly! AND less is more!! Especially for areas with sensitive skin (such as the face, chest and armpits)!
This homemade deodorant without baking soda uses a 0.5-1% dilution rate (so, very low). Higher dilutions can cause irritations!
Also, you may react to an essential oil. Though allergies to essential oils are rather rare, they do exist...
Other reasons that you react to your natural deo may be starchy ingredients like tapioca or corn starch. They are added to absorb moisture but can cause irritations for some people.
And then, there might be other active ingredients in your deo that you may react to like magnesium hydroxide, zinc oxide, or maybe even beeswax (this may be the case if you’re allergic to bees and/or their products)!!
How do I find out which ingredient causes irritated skin?
Unfortunately, you’ll just need to test them all out. But following the tips I give throughout this post might help you. I recommend making small test batches (amounts in the recipe) and leaving out some ingredients or subbing them with others to find out the cause!
Ingredients
Affiliate Disclaimer: This article contains affiliate links. That means I may earn a small commission, if you purchase the linked product, at no extra cost for you.
- shea butter
- carrier oil: I used coconut oil and sweet almond oil
- beeswax
- vitamin E oil (optional)
- essential oils
- diatomaceous earth (DE)
- zinc oxide
(see quantities down below in recipe card)
I always recommend using organic ingredients if possible! Especially if you’ve got sensitive skin! Pesticide residue, other chemicals & particularly preservatives may also cause irritations!
Benefits & how these ingredients work
Shea Butter
I use shea butter for creating a creamy texture but also for its great benefits for our skin! Shea butter is high in vitamin E oil (an antioxidant) and has healing properties to keep our skin smooth and soft.
→ Get it on amazon or on iherb!
Carrier Oils
We need carrier oils to dilute the essential oils as well as make this homemade deodorant smooth and spreadable. There are many different oils that you can use!
I prefer using coconut oil because it’s antibacterial and sweet almond oil because of its high vitamin E content.
Beeswax
Beeswax helps with the texture. It keeps this deodorant solid in winter and summer (it will soften a bit in very high temperatures though!). If you want to make deodorant sticks, you may need to add about 5g more!
→ Get it on amazon or on iherb!
If you’re allergic to bees or their products, obviously, don’t use beeswax! Or if you’re vegan! A great plant-based alternative is candelilla wax—it’s derived from a plant! See “substitutions” for more info!
Since wax is a humectant (it keeps the moisture in the skin), it may prevent your deodorant from staining your clothes! Or at least, it reduces the stains.
Vitamin E Oil
I like adding vitamin E oil because it helps with soothing irritated skin and has healing properties. But this is only optional. You don't necessarily need it if you use shea butter and a carrier oil high in vitamin E.
→ Get it on amazon or on iherb!
Essential Oils
You can use different essential oils here. Maybe just for a nice scent or to make use of their antibacterial and/or deodorising power!
I used 2 drops each of lavender, eucalyptus, cypress, citronella and lemongrass. These essential oils are all deodorising just like bergamot, clary sage, geranium, neroli, patchouli, petitgrain and pine!
Tea tree, clove & cinnamon are great antibacterial essential oils to use as well! However, only use 1 drop max of either cinnamon or clove (and then only 5-6 drops of other essential oils). They’re both considered strong essential oils!
Diatomaceous Earth (DE)
DE is a powder made from the sediment of fossilised algae and is high in the mineral silica. Just like clay, it’s a natural detoxifier that draws out toxins.
It’s also deodorising and dehydrating (absorbs moisture). Obviously, that’s good but that’s why I like adding humectants such as shea butter and wax to prevent the skin from drying out too much!
→ Get it on amazon!
Zinc Oxide
Zinc oxide is an active ingredient that can help heal and prevent irritated skin. It’s also antibacterial which means that it can fight those smell-causing bacteria.
The only downside is that zink oxide is VERY white! I don’t mind it all too much and find that when I rub it in enough and leave the deodorant to be fully absorbed into the skin, the white goes away. If you don’t shave your armpits, it does stay a bit longer.
→ Get it on amazon or on iherb!
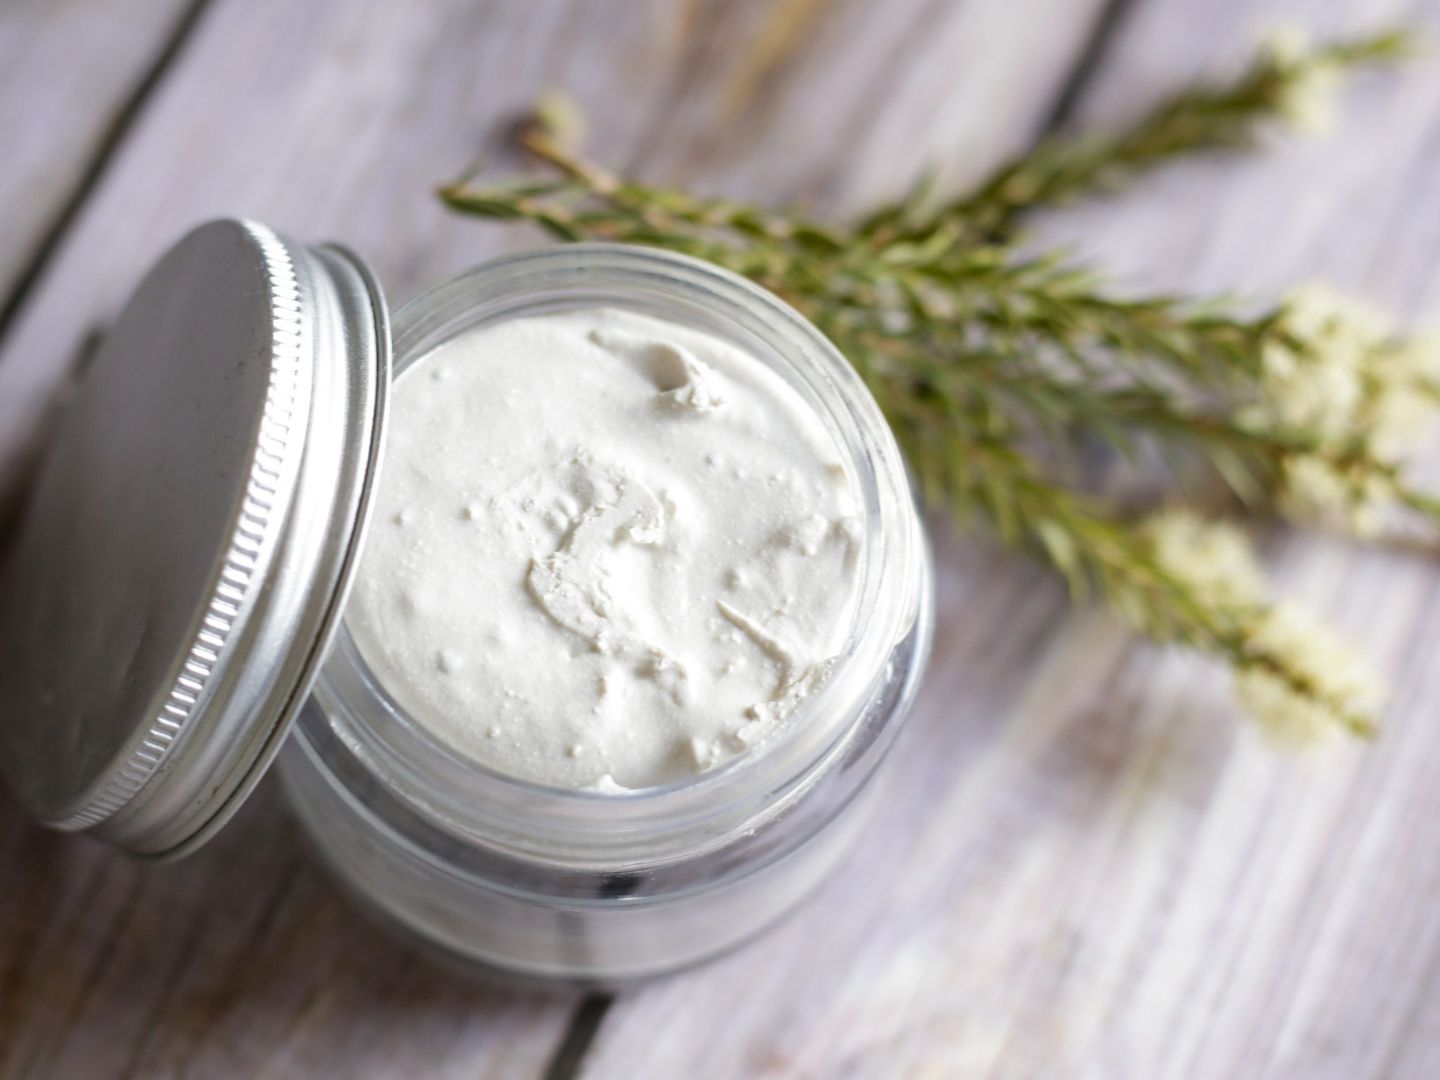
Instructions
How to make this homemade deodorant without baking soda
Step One. Place shea butter, beeswax and coconut oil in a heat-proof ceramic or glass bowl and put it on top of a saucepan filled with a bit of water (we are creating a double-boiler/water bath). Bring water to a boil.
Use the steam to gently melt these ingredients. You’ll notice that the coconut oil will melt first, then the shea butter and the beeswax at last.
Once melted, set aside to cool down for about 15-20 minutes. Just keep an eye on it! You don’t want the beeswax to solidify again.
Step Two. Now, add vitamin E oil (if using) and essential oils and stir through. Finally, mix in DE and zinc oxide.
As the temperature drops, you may find that the mixture is starting to solidify. That’s okay and normal. It won’t go rock solid right away. It’ll stay soft for a while.
Step Three. Pour into a sterilised container or tube, if that’s what you prefer, and put it in the fridge to set. After that, your deodorant can live in your bathroom cupboard (do keep it out of the sun/daylight if you’ve used a transparent container).
How to use this homemade deodorant without baking soda
After the shower or after you’ve washed your armpits, apply a thin layer of this DIY deodorant and gently rub it into the skin.
One small tip: Squeeze your upper arms against the sides of your body and rock your arms slightly back and forth. This creates heat under your arms, thus, melting the deodorant and encouraging it to be absorbed quicker into the skin.
Use once daily. Or if you feel like you need it, reapply in the afternoon or after a workout.
Substitutions
Diatomaceous Earth: you can sub this ingredient with bentonite or kaolin clay if you prefer. They have similar effects (as in, they’re also both detoxifying and dehydrating, but not deodorising).
Beeswax: As mentioned earlier, you can substitute beeswax with candelilla wax (or maybe even soy wax). If allergic to bee products or if you’re vegan.
If you chose candelilla wax, only use 2-3g as it’s twice as stiffening as beeswax! Soy wax can be used 1:1 in this recipe (though I haven’t tried it).
Zink Oxide: You can also leave this out and add more DE (or other clay).
Storage
Store this homemade deodorant in a clean container: ideally made of glass (like this one), and even better if it’s amber, or in a tube, if you prefer.
If you want to use a tube, make sure to double the amount of beeswax and/or keep it in the fridge!
As most ingredients in this recipe are antibacterial and natural preservatives, this deodorant will keep for about 12 months in the cupboard, at room temperature. Surely, keeping it in the fridge reduces the risk of bacteria growth.
It’s important to keep this deodorant away from sun/daylight as this affects the effectiveness of the essential oils! So, keep it in your cupboard or in an amber glass container or a tube!
Safety & Warnings
This homemade deodorant without baking soda is created for sensitive skin. Most of the ingredients are non-irritant and low in allergens.
However, if you’re allergic to bees and/or their products, replace beeswax with a plant-based alternative (see substitutions).
Zinc oxide may cause irritations for some people (like swelling, itchy skin or stinging). This actually happened to me. You can reduce the amount next time (I now only use 1 teaspoon instead of 1 tablespoon and I’m fine with it now) or leave it out completely.
If any irritations occur such as reddening of the skin, itchy flaking skin, rashes or stinging, please stop using this DIY deodorant.
My Top Tip
Before you make a whole batch, make a reduced test batch first (see recipe card below)!! This prevents wasting ingredients in case it doesn’t work for you or if you react to this deo.
This should give you a big enough amount to properly test it! Remember that your skin needs to detox first if it’s not used to natural deodorants. This may take a few weeks or even months!
📖 Recipe
Ingredients
- 2 tablespoon / 30 ml coconut oil or other carrier oil like sweet almond oil
- 1 tablespoon / 15 g shea butter
- 5 g beeswax see notes for substitutions
- ¼ teaspoon pure vitamin E oil optional
- 10 drops essential oils see notes
- 2 tablespoon / 10 g diatomaceous earth
- 1 tablespoon / 15 g zinc oxide
Instructions
- Melt shea butter, beeswax and coconut oil in a double-boiler. You can also place a heat-proof bowl on top of a saucepan.Once melted, set aside to cool down for about 15-20 minutes. Just keep an eye on it! You don’t want the beeswax to solidify again.
- Now, add vitamin E oil (if using) and essential oils and stir through. Finally, mix in diatomaceous earth and zinc oxide.
- Pour into a sterilised container or tube and put it in the fridge to set. After that, your deodorant can live in your bathroom cupboard (it's best to keep it out of the sun/daylight) for up to 12 months.


Leave a Reply