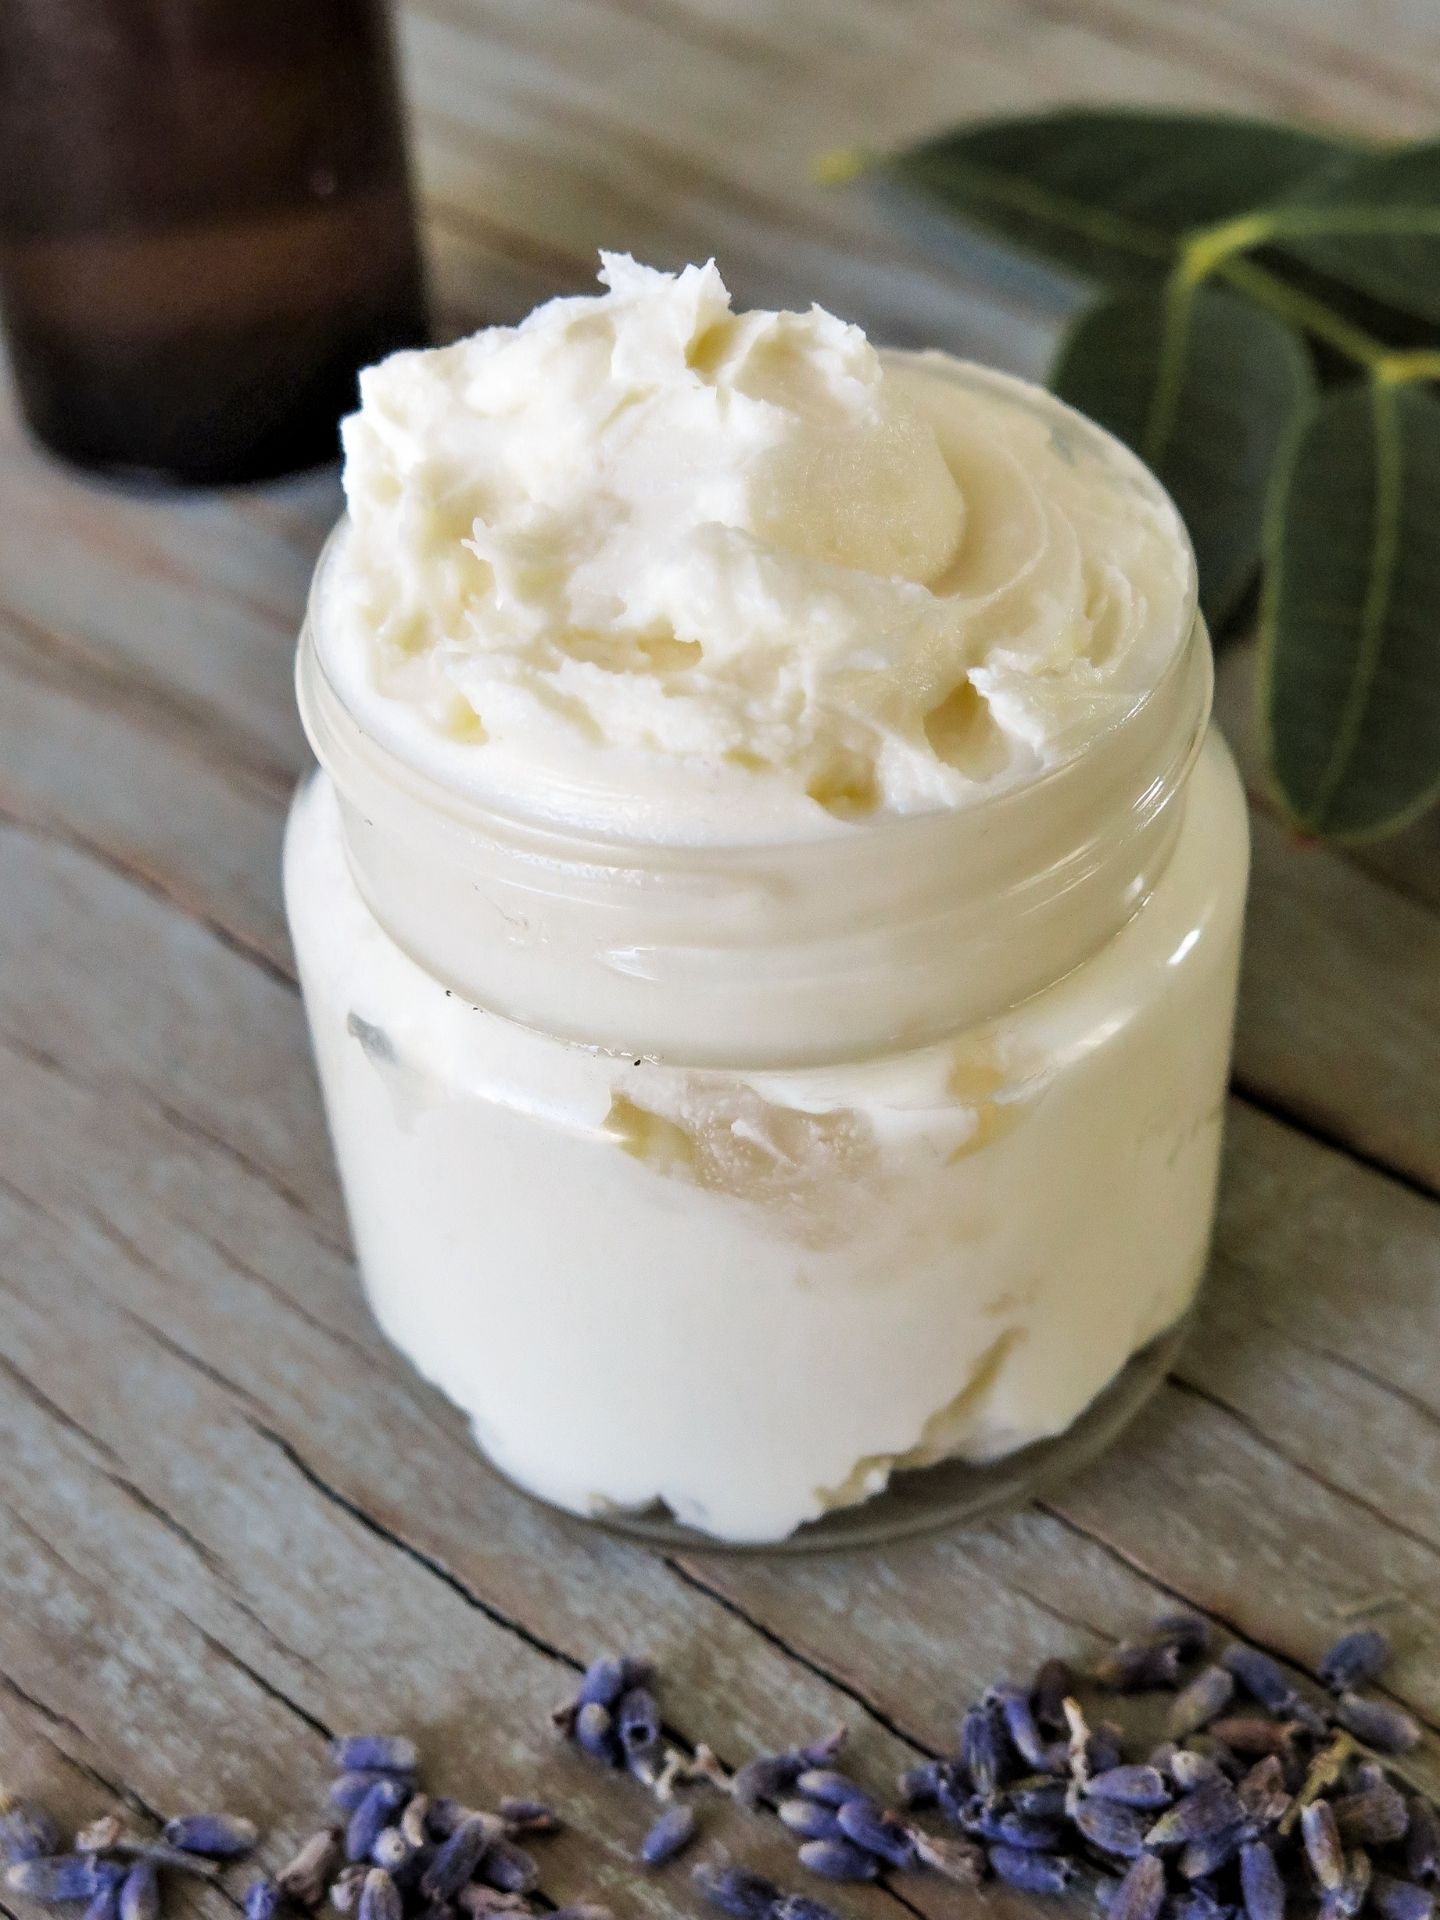
Feeling like you need a little protection from the sun, but also don’t want to put on a layer of sunscreen every day? This homemade facial moisturiser with SPF nourishes your facial skin and protects it from harmful sun rays!
Disclaimer: I’m not a dermatologist, a professional nor a scientist. I cannot promise that this product completely guards you against harmful UVB and UVA rays. This is based on research and on my own experience. If you’re unsure, please consult your dermatologist (or physician).
Contents
What’s great about this lighter version of sunscreen is that it almost has the same ingredients however in different proportions aiming for a smoother and softer feel.
The shea butter base provides enough hydration and nourishes the skin without being too greasy. You can choose an accompanying oil and essential oils to adapt it to whatever it is you’re looking for, such as anti-aging and youthful-looking skin, reduced blemishes and spots or some extra moisture.
This light sunscreen is perfect for and best used on days when you’re only exposed to the sun for a little bit or during spring or autumn/fall. Please note though, it’s not a full sunscreen and probably only reaches a lower SPF (like 15).
What’s the SPF of this homemade facial moisturiser?
Okay, this is a bit more complicated than I thought. But anyway, here are my thoughts and I would like you to read through this if you’re a bit concerned about SPF and/or homemade sunscreen.
But step by step. First of all, what’s SPF? SPF means Sun Protection Factor and measures UVB rays only (they are the damaging rays that burn and age skin). UVA rays, however, don’t cause sunburn but still damage the skin as well. UVA rays are able to make their way through the clouds and windows and cause skin damage.
I searched the web for ages to find out how to calculate the SPF. My results were: it’s not that easy and as always, I can’t tell you what’s right or wrong.
Some people say you’d need a lab to know your homemade sunscreen's exact SPF. Others say you can calculate it by the amount of zinc oxide you’re using. But again others say that more zinc oxide doesn’t mean more protection.
Does homemade sunscreen really work?
I know that some people say that homemade sunscreen isn’t giving you enough protection because you don’t know the exact SPF. If you ask me, that’s a very poor excuse.
In my opinion, it’s safe to use, if you apply and re-apply it regularly. I’ve never had any problems with homemade sunscreen – no sunburns whatsoever, and I lived in New Zealand where the sun is extreme (the ozone hole is right above it!).
So, bottom line, although you might not know the exact SPF, you know that the ingredients do protect you from UVA and UVB rays to some extent. And if you doubt it, well, this recipe here still makes a great moisturiser and anti-aging product ;).
Ingredients
- Shea butter
- Oil(s) of your choice
- Essential oils of your choice
- Zinc oxide
- aloe vera gel (optional)
How high is the SPF in my ingredients?
Here is a list of the SPFs for each ingredient and you can decide what you think. Also, keep in mind, this homemade moisturiser is only a light sunscreen anyway and to be honest, I personally don’t really bother how high the SPF in mine is. I think as long as it protects the skin a little bit, it’s already a win. But, you decide.
Affiliate Disclaimer: This article contains affiliate links. That means I may earn a small commission, if you purchase the linked product, at no extra cost for you.
- Shea butter SPF 3-6
- Carrot seed oil SPF 35-40
- Zinc oxide: might depend on the amount you’re using, might not. Read more below.
- Raspberry seed oil SPF 25-50
- Wheat germ oil SPF 20
- Avocado oil SPF 4-15
- Coconut oil SPF 2-8
- Macadamia oil SPF 6
- Olive oil SPF 2-8
- Lavender essential oil SPF 5-6
- Almond oil SPF 5
- Jojoba oil SPF 4
- Eucalyptus essential oil SPF 2-3
What oils can I use for my moisturiser and sunscreen?
- For normal to dry skin: Coconut oil, olive oil (especially for dry skin), jojoba oil, wheat germ oil, almond oil, avocado oil, rosehip oil, apricot kernel oil, sunflower oil and grape seed oil
- For oily and acne-prone skin: argan oil, jojoba oil, rosehip oil and almond oil
- For sensitive skin: jojoba oil, avocado oil and apricot kernel oil
Essential Oils
IMPORTANT! Don’t use any citrus oil in your facial products when using them during the day. Citrus oils (lemon, orange, lime, bergamot and grapefruit) react with the sun rays, which means they are phototoxic and could cause irritations! Mandarin, Tangerine and lemongrass are safe to use.
- For extra sun protection: carrot seed oil, raspberry seed oil, lavender and eucalyptus.
- Anti-aging and skin damage: geranium, carrot seed oil, rose and ylang-ylang
- For fighting acne: lemongrass, tea tree, lavender, eucalyptus, geranium, ylang-ylang, myrrh and patchouli
Zinc oxide
Zinc Oxide physically blocks harmful, damaging UVA and UVB rays by reflecting light off the surface of the skin where you applied the sunscreen back. In sunscreen, it’s what leaves the white (sometimes thick) layer on our skin.
In this recipe, I reduced it to a teaspoon because it apparently doesn’t matter really how much you’re using. So using more doesn’t mean it protects your skin more.
Or, if you believe the calculation method – it would probably come up to an SPF of 10 to 15 in this sunscreen which is what I was aiming for – it’s primarily a moisturiser after all.
Additionally, it can be used on any skin type even if you have extremely sensitive skin. It is also unlikely to cause breakouts or acne.
Storage
This homemade facial moisturiser with SPF keeps for about 3-6 months. You can store it at room temperature or keep it in the fridge if you live in a hot climate.
Ideally, you keep the moisturiser in a tinted or amber container because essential oils are sensitive to light. If you, however, keep it in your bathroom cupboard, away from direct light, it's safe to store the cream in a clear container.
Where to get small containers for storage?
If you live in the US, you might want to check out SKS Bottle & Packaging because they have quite the choice when it comes to containers. They've got EVERYTHING you want!
You can also get some on Amazon, like this 2 oz. amber glass container or these 4oz. tin containers.
📖 Recipe
Ingredients
- 60g / ¼ cup shea butter unrefined
- 2 tablespoon oil of choice jojoba, almond, coconut, etc.
- 1 teaspoon zinc oxide non-nano
- 10 drops carrot seed oil or raspberry seed oil
- 5 drops essential oils optional, see notes
- 1 tablespoon aloe vera gel optional, see notes
Instructions
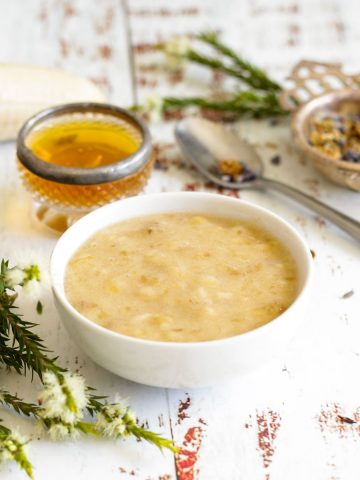
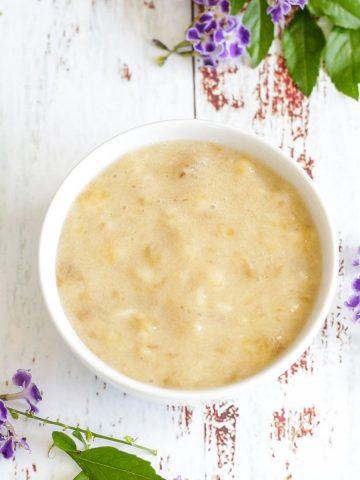
- Melt the shea butter in a pot over low heat or in a double-boiler. Once melted let it cool down for a few minutes – don’t worry, it’ll remain liquid. Alternatively, skip this step if your shea butter is soft enough, so much so you're able to stir it (it probably softens then even more).
- Add zinc oxide along with your oil of choice, carrot seed oil and other essential oils (if using). If you haven't melted the shea butter, you can add the aloe vera gel (if using) as well.
- Stir or whisk until well combined. I like using a silicone spatula for this. If you haven't melted the shea butter, you're done. Continue to step 6.
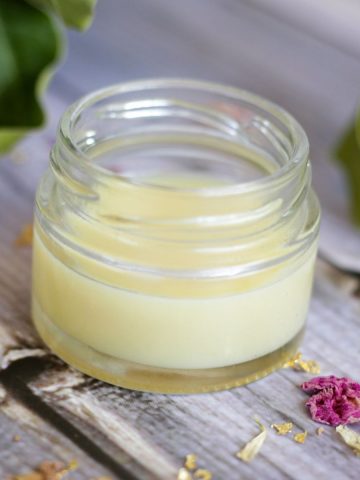
- If you have melted the shea butter: Pour the moisturiser into a small jar or bowl (see next step) and put it in the fridge for about 45min to 1 hour until it’s slightly firm (or up to 2 hours until completely firm, if not using aloe vera gel). You could also do this by putting it in a cold room, but the fridge simply speeds up this process.After 1 hour, add aloe vera gel (if using) and mix. Refrigerate again for another hour or so until it's completely firm
- Take out your moisturiser and either whip it with an electric mixer now (that’s why it might be a good idea to use a bowl in step 4), or you can let it sit for a bit to warm up to room temperature first. I don’t have an electric mixer and I just wait until it’s not rock solid anymore. Then I gently stir it with a teaspoon. You don’t even have to do this but I find it makes a nicer, creamier consistency.
- Store moisturiser at room temperature (a little warmer is fine as well) in a dark place, like a cupboard.
Notes
- Essential oils: read more about which ones are great to put in your moisturiser in the post. IMPORTANT! Don’t use any citrus oil in your facial products when using them during the day. Citrus oils are phototoxic and react with the sun rays which means they could cause irritations!
- I love adding aloe vera gel to my moisturiser because it hydrates the skin so well. In this recipe, it might soften/make the moisturiser a bit runnier. It's best to use organic, pure aloe vera gel (ideally store-bought because it comes with natural preservatives). Fresh aloe vera gel goes bad after a few days and mightn't be the best choice.
Resources
- https://www.makingcosmetics.com/How-Can-I-Get-a-SPF_ep_60.html
- https://www.thecut.com/swellness/2016/07/is-there-natural-sunscreen-in-carrot-oil.html
- https://dontwastethecrumbs.com/homemade-sunscreen/
- https://joshrosebrook.com/blogs/blog/the-best-sunscreen-zinc-oxide-and-the-nutrient-day-cream-spf30
Elizabeth says
So far so good. I haven’t finished making it yet. I’m waiting for cocoa butter to melt still. Is grapefruit essential oil bad to add since it may be considered a citrus oil? I want sunscreen on every day in Texas. So glad I bought zinc to add now.
Lavender Gypsy says
Haha yeah, cacao butter takes ages to melt! Grapefruit essential oil should be avoided in this moisturizer as it is a citrus oil indeed. It's better in a night cream/anti-aging cream and when you're not exposed to UV rays.
Dilara says
How long is the sustainability for the moisturizer? 🙂
Lavender Gypsy says
Hi Dilara! This moisturiser usually keeps for about 12 months. However, this depends a little bit on the best-by-date of your ingredients (especially that of the shea butter). 🙂