For this easy and simple DIY lip balm without beeswax, you’ll only need 2, maybe 3, ingredients! And no, we won’t even need any sort of wax!
I love making this homemade lip balm because it’s fool-proof-easy! You could probably even say, it’s a no-fail!
This recipe is very beginner-friendly, naturally vegan and only takes a few minutes to make. No special equipment required! Curious? Let’s get cracking!
Ingredients
Affiliate Disclaimer: This article contains affiliate links. That means I may earn a small commission, if you purchase the linked product, at no extra cost for you.
- shea butter
- cacao butter
- oil (such as coconut or almond, optional)
- vitamin E oil (optional)
(for quantities see recipe card below)
As with all of my recipes, I recommend using organic, raw and unrefined/unprocessed ingredients! Especially, when it comes to shea and cacao butter.
Cacao or Cocoa Butter?: Technically, they’re both the same—as in, made from the same ingredient—however, cocoa butter is processed whereas cacao butter is the unrefined, raw version (that’s the one we want).
Oil: You don’t really need oil in this recipe but if you live in a colder or moderate climate, you may want to add a tiny bit to make your lip balm smoother and creamier.
Vitamin E Oil: Also optional. I just love adding a tiny bit because it’s highly beneficial for our skin and may help heal chapped lips.
Essential Oils: I know, many people add essential oils to their lip balm—maybe for some flavour or for their healing properties. However, I don’t really recommend adding them. But if you want to, at least reconsider these oils:
Peppermint, for example, a favourite apparently, may burn and sting your lips (particularly when they’re chapped) and can often do more harm than good. Yes, it may plump your lips, but is it worth it?
Citrus essential oils, which some people like to add for their nice flavour, are phototoxic which means they react with the sunlight and can cause irritated skin and rashes!
Note: Lavender, chamomile and frankincense may be beneficial for chapped lips and can assist in the healing process. Don’t use more than 2 drops in this recipe though.
Benefits
Shea Butter
Shea butter is moisturising, highly nourishing and has healing properties! It keeps your lips smooth and healthy and may even help heal chapped lips!
Cacao Butter
Although it’s got a lower melting point than shea butter, it is a lot firmer when solid. It gives this homemade lip balm without beeswax the right texture.
But that’s of course not everything! Cacao butter is also highly nourishing and hydrating and it creates a protective layer on the skin to hold in moisture. Just like shea butter, it’s also known for its healing properties.

Instructions
Step One. Place the shea and cacao butter into a heat-proof ceramic or metal bowl. Put the bowl on top of a saucepan filled with a little bit of water. We’re creating a double-boiler.
If you want to use coconut oil and it’s solid, add it as well so it can melt together with the butters.
Step Two. Bring the water to a boil. Gently melt the butters, stirring occasionally. I usually lower the heat to medium-low or even its lowest setting. This ensures a gentler melting process.
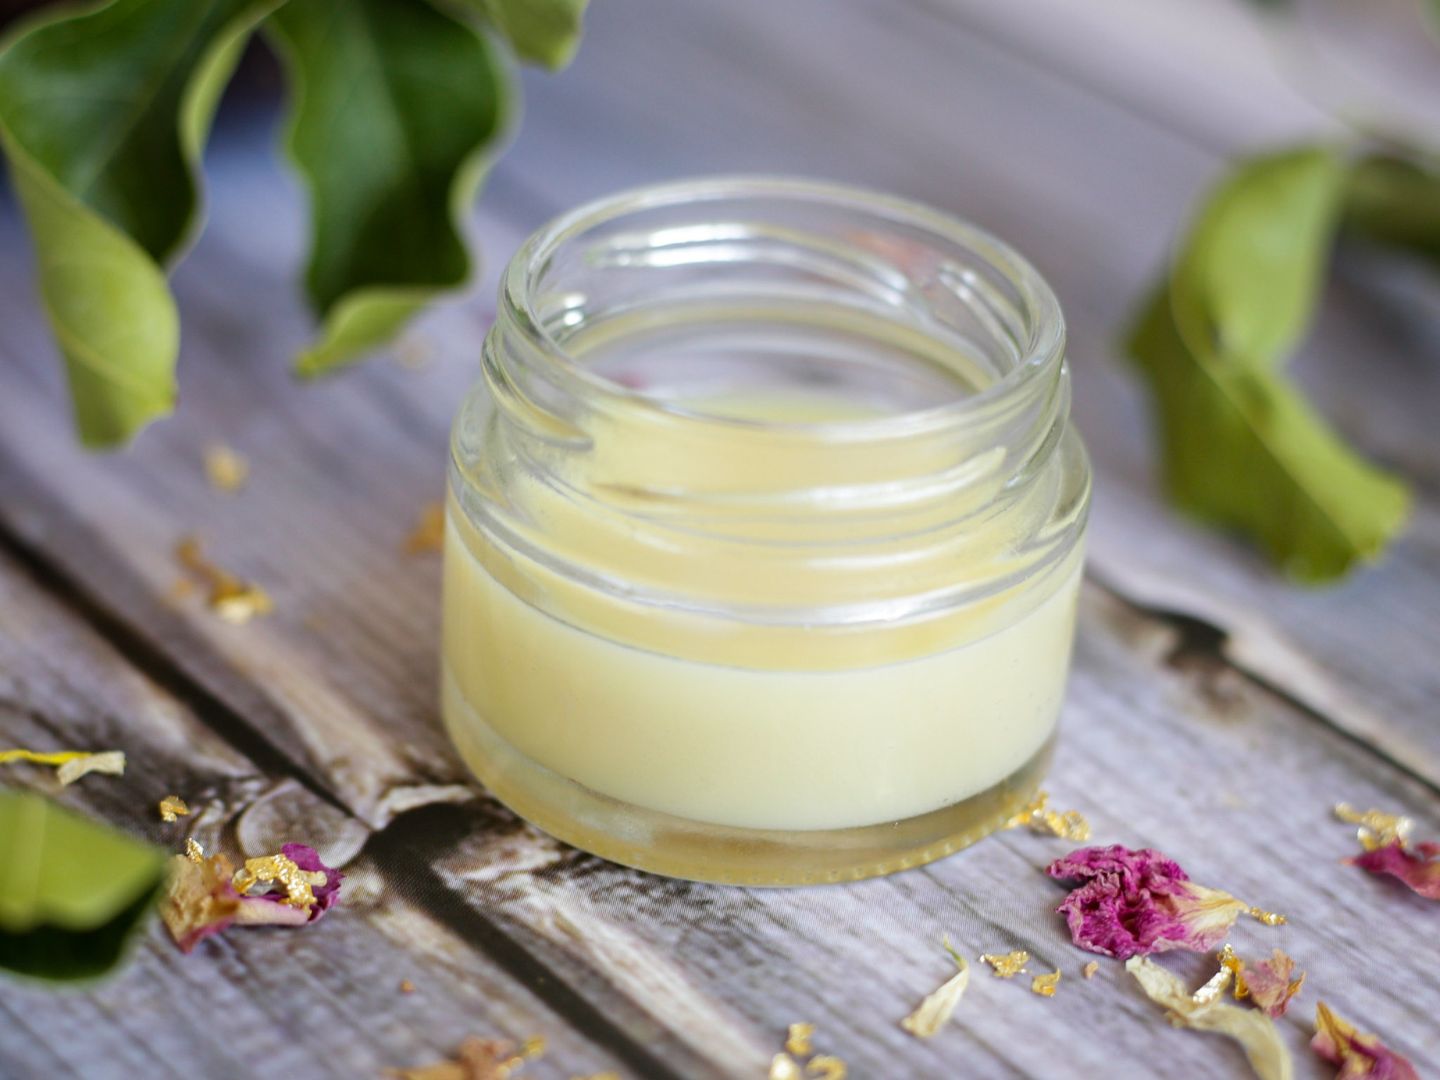
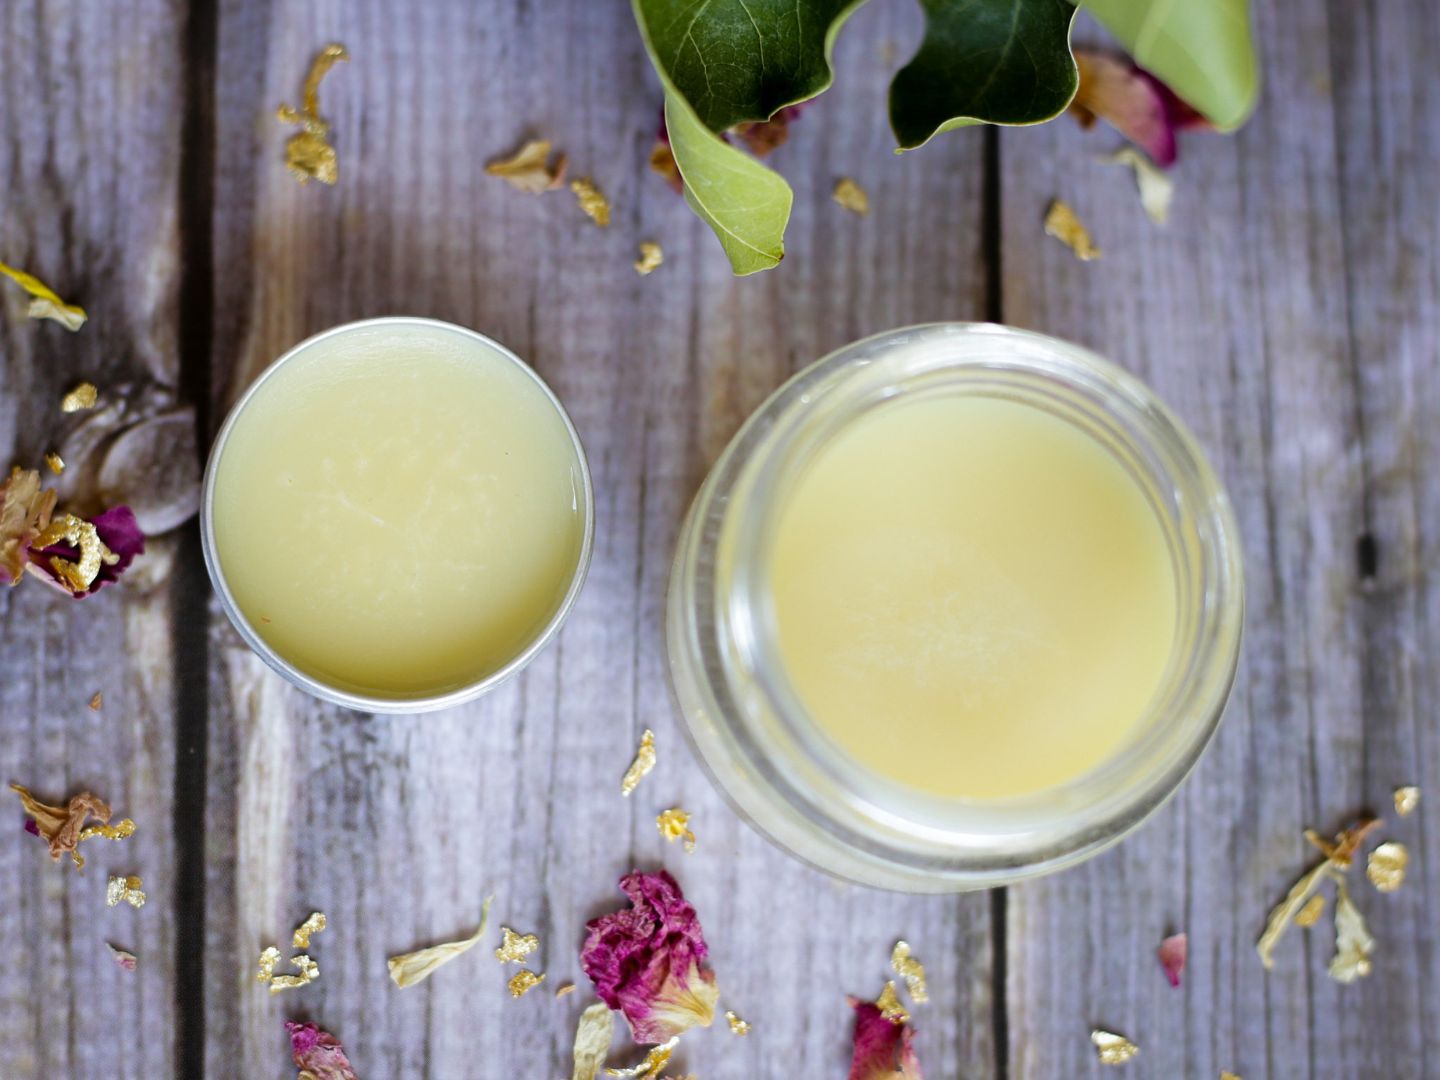
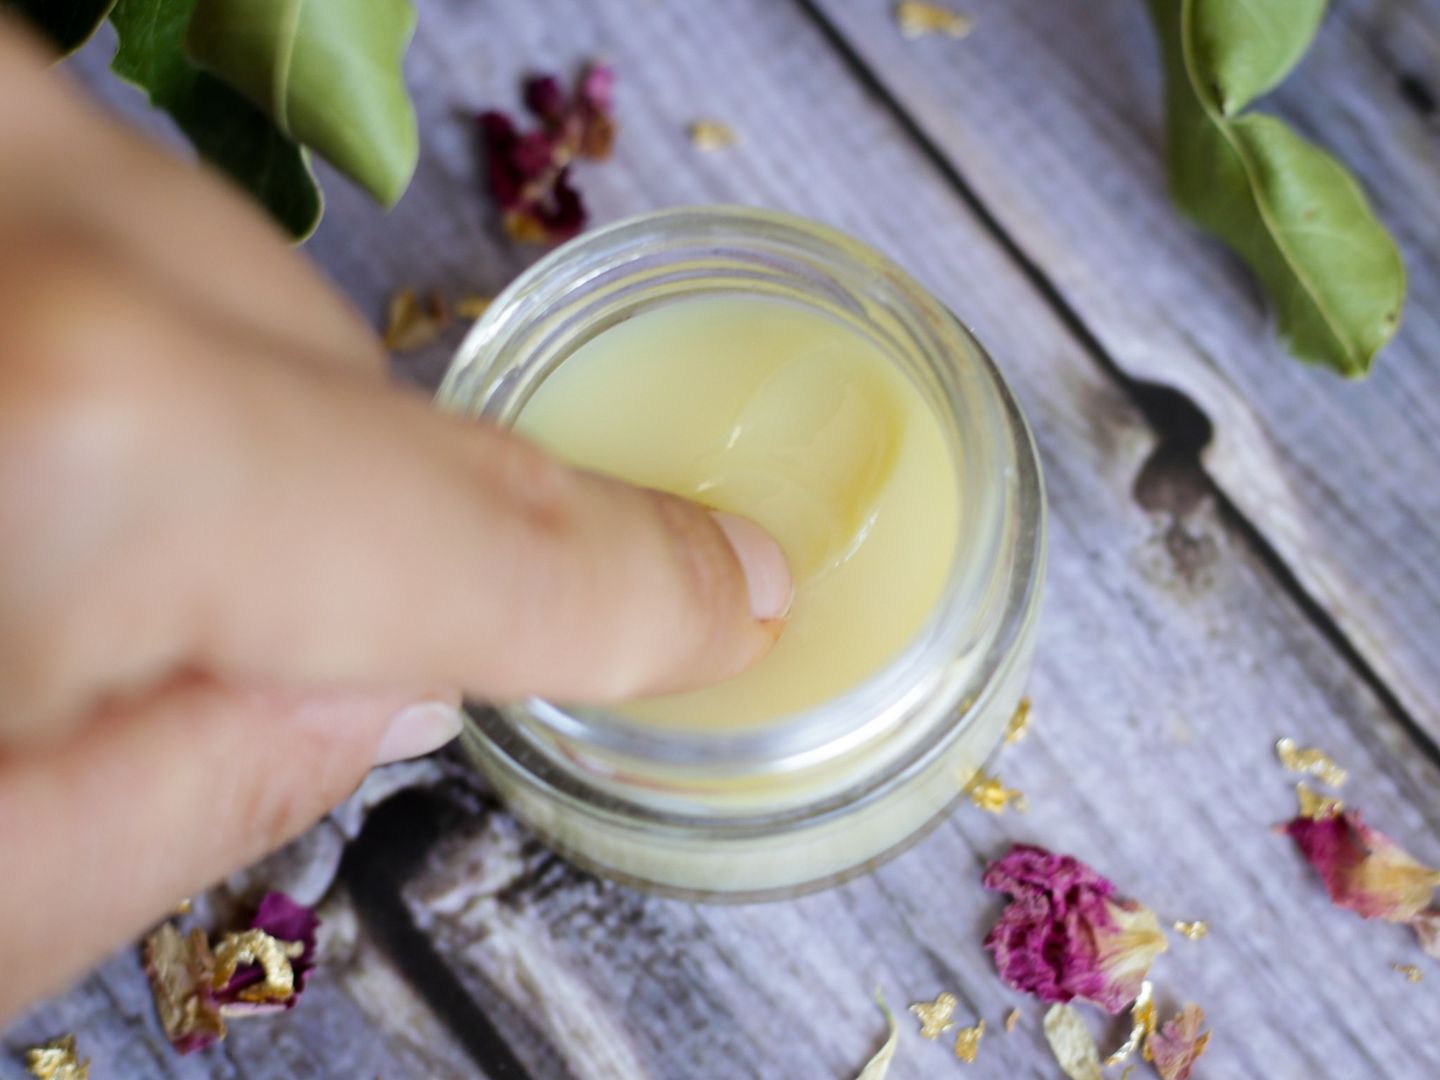
Step Three. If using vitamin E oil, let the butters cool down for a few minutes, before adding it. Otherwise, you can pour the melted butters straight into a metal tub or a small recycled jam/honey jar (just like you can see in the pictures).
You can also pour the mixture into lip balm tubes, however, keep in mind that cacao butter has a low melting point! This DIY lip balm will get a lot softer in summer! (see picture below!)
Substitutions
Cacao Butter: Instead of cacao butter, you may also use coconut oil! Just know that this results in a softer lip balm and you may need to keep it in the fridge.
Plant Wax: I do like adding beeswax to my homemade lip balms because it simply keeps the lips hydrated for longer. It also doesn’t rub off as quickly.
So, if you wanted to, you could add plant wax, like candelilla wax instead! I recommend using my DIY lip balm recipe and simply replacing the beeswax with plant wax (I explain how much you need to use in the post).
Storage
For this DIY lip balm without beeswax, I recommend using small tubs or jars for storage. I reuse a small 5ml metal tub, like these, and a recycled 30ml/1oz. glass jar (see pictures).

I don’t use my tubes for this recipe because I live in the hot north of Australia and this lip balm simply gets too soft most of the year.
If you live in a country where it’s colder or moderate (below 30 °C/86 °F), you may be able to store it in a tube without any problems. Alternatively, you could keep it in the fridge.
Generally, this lip balm doesn’t have to be stored in the fridge. It’s fine in your bathroom, purse, or cupboard. There, it keeps for about a year (depending on the best-by date of your shea and cacao butter, really).
Safety & Warnings
This DIY lip balm is made with ingredients that don’t cause problems for most of us. Shea butter does not cause any allergic reactions and is a low-risk ingredient.
Cacao butter may pose a risk to those allergic to chocolate. It is extremely important to use pure cacao butter—and best not to use highly processed or modified cocoa butter.
If you’re unsure, please make a patch test before using this product!
📖 Recipe
Equipment
- 1 30 ml / 1 oz. container ideally metal or glass
Ingredients
- 1 tablespoon / 15 g shea butter ideally raw and organic
- 1 tablespoon / 10 g cacao butter ideally organic
- 1 teaspoon / 5 ml coconut oil optional, see notes
- ¼ teaspoon pure vitamin E oil optional
Instructions
- Place the shea and cacao butter into a heat-proof ceramic or metal bowl. Put the bowl on top of a saucepan filled with a little bit of water. If you want to use coconut oil and it’s solid, add it as well so it can melt too.
- Bring the water to a boil. Gently melt the butters, stirring occasionally. I usually lower the heat to medium-low or even its lowest setting. This ensures a gentler melting process.
- If using vitamin E oil, let the butters cool down for bout 15 minutes, before adding it. Otherwise, you can pour the melted butter straight into a container.
Notes
- Oil: You don’t really need oil in this recipe but if you live in a colder or moderate climate, you may want to add a tiny bit to make your lip balm smoother and creamier.
- Vitamin E Oil: I just love adding a tiny bit because it’s highly beneficial for our skin and may help heal chapped lips.
- Low Melting Point (little warning): This DIY lip balm will get a lot softer in summer!
Leave a Reply